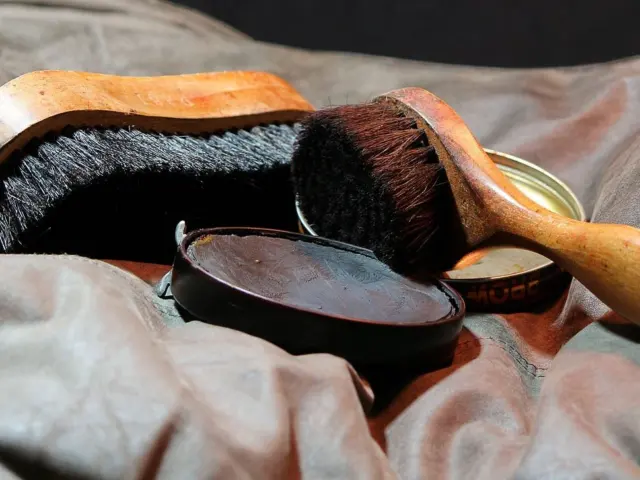
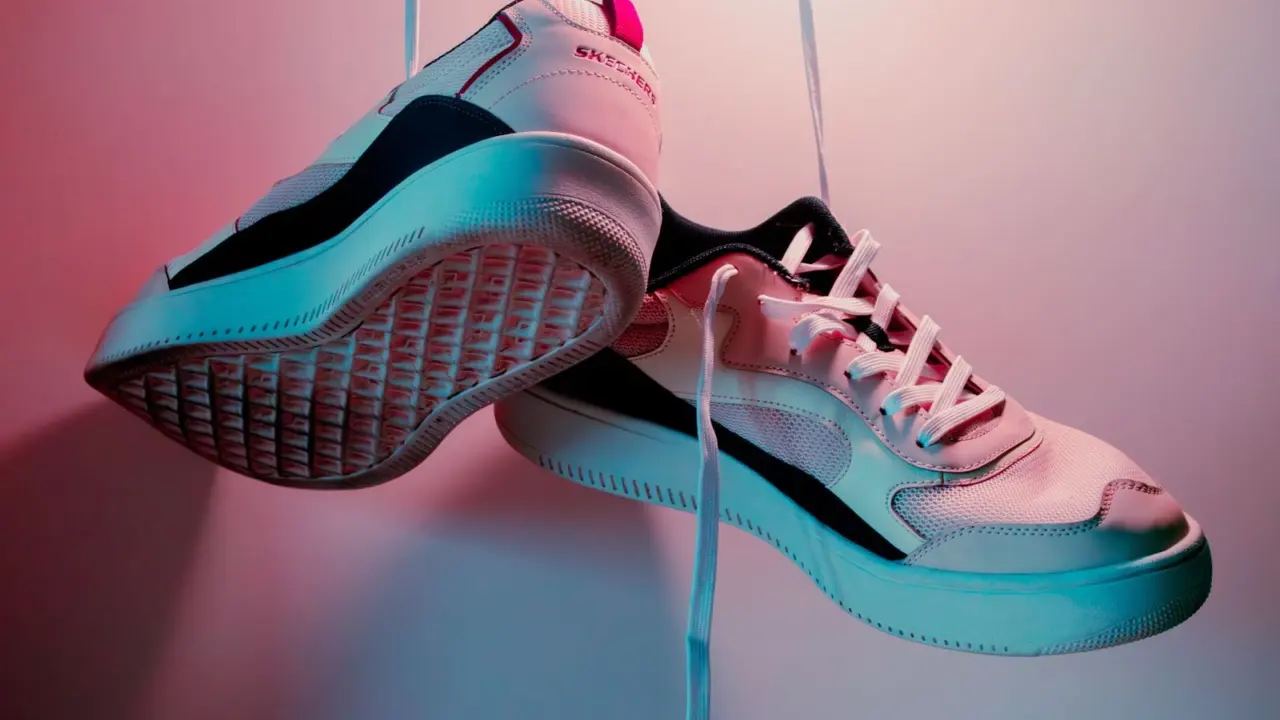
Your favourite pair has started flapping at the toe, and you would rather not pay for a full resole. Here’s how to fix sole separation: clean both surfaces, apply flexible shoe glue, clamp firmly, and wait for a full cure.
You can find more upkeep advice in the shoe care and repair section of this site.
| Item | Value |
|---|---|
| Time required, iFixit reconnect guide | 30 minutes |
| Glue set time before joining, iFixit reconnect guide | About 2 minutes |
| Prep and application, Gear Aid guide | 10-15 minutes |
| Cure time, Gear Aid guide | 8-12 hours |
These figures come from the iFixit reconnect guide and the Gear Aid repair guide, and they can change, so check the source and your glue’s label before you rely on them.
Why do shoe soles come apart?
A delaminated sole is what happens when the sole separates from the shoe. Gear Aid’s repair guide says this can occur often in hiking boots or even in tennis shoes that get used often. The same guide warns you to keep boot soles away from the campfire so the manufacturer’s glue does not melt and cause peeling.
Wet weather and rough wear add up as well. A home-repair writer at Frugal Upstate says that rain and snow loosen soles over time, in conjunction with toe dragging.
Acting early matters. iFixit notes that a detached sole drastically shortens the lifespan of a shoe and makes the pair immediately unwearable.
Is gluing the right fix, or do you need a cobbler?
Gluing suits a loose outsole or an edge split when the rest of the shoe is sound. Bostik’s DIY guide says that if the upper is still in good condition, reattaching or patching a loose or cracked sole is straightforward.
Use this quick check:
- Glue it yourself when the sole has peeled at the toe, heel or edge, the upper is intact and the sole material is still solid.
- Consider a cobbler when the sole is worn down completely or structurally compromised. Bostik says a full sole replacement or a professional cobbler may be more appropriate in that case.
The Frugal Upstate writer draws the same line: she takes a job that needs an entire sole replaced to a cobbler, but treats a merely loose sole as a home repair (source).
What you need before you start
The kit is small and mostly sits around the house. Gather it all before you open the glue.
- A flexible shoe-repair adhesive
- Isopropyl alcohol, or rubbing alcohol, for degreasing
- A cleaning cloth or stiff brush
- Sandpaper for smooth or old-glue-covered surfaces
- A rag, paper towels or newspaper to stuff the shoe
- A clamp, a heavy object or strong tape to hold the sole in place
Pick a flexible glue, because a sole bends with every step. Gear Aid describes its Aquaseal SR as a flexible rubber glue that won’t crack or peel, and lists isopropyl alcohol at a maximum of 70% for cleaning. The Frugal Upstate writer likewise wanted a glue that was strong, waterproof and flexible.
How to fix sole separation step by step
Every guide in the source pack follows the same pattern: clean, glue, press, cure. The details differ by adhesive, so treat the numbers below as typical and let your glue’s label win any disagreement.
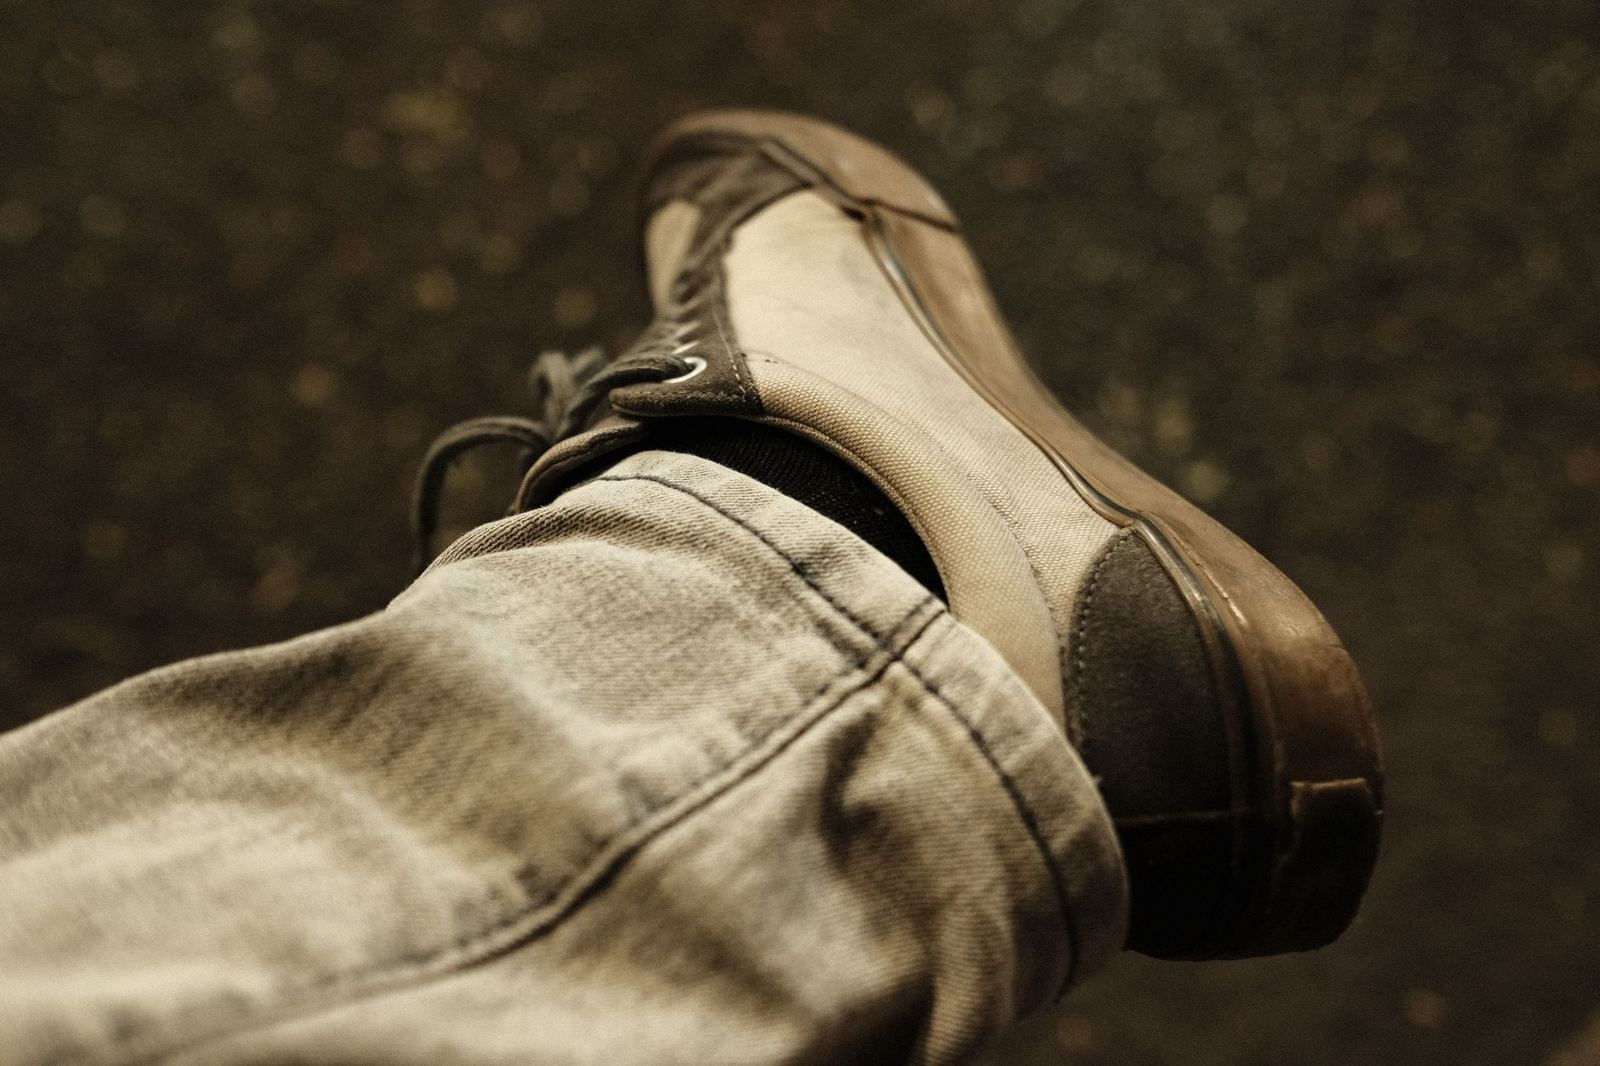
- Clean both surfaces. Pull the loose sole away, brush off debris and wipe the surfaces with alcohol. Bostik warns that dirt, dust, grease or moisture can prevent the adhesive from bonding properly, so let everything dry completely.
- Roughen shiny areas. If there is caked-on dirt or old glue, or the sole is very smooth, Flex Seal’s guide suggests gently buffing it with sandpaper to give the glue some texture.
- Stuff the shoe. Pack a rag or newspaper inside so the shoe keeps its form while the glue cures, as the iFixit reconnect guide advises.
- Apply the glue. Spread an even layer on the surfaces that will meet. Open time varies: the iFixit reattach guide says to continue immediately after applying glue, while the reconnect guide and Aleene’s wait about 2 minutes first.
- Press and hold. Align the edges, then press firmly. Hold times quoted range from at least 5 seconds in the Bostik guide to 30 seconds in the iFixit reattach guide, and Flex Seal says at least 20 to 30 seconds.
- Clamp or weight it. Keep steady pressure while the glue cures. Gear Aid puts prep and application at 10-15 minutes, followed by the cure.
- Wipe off squeeze-out. Flex Seal says to wipe away excess within 10 minutes, and iFixit notes that removing glue is much easier when it is still wet.
Take care with how you apply pressure. Bostik says to press evenly across the entire glued surface, not just the edges, so the glue makes full contact with both parts.
How long should you wait before wearing the shoes?
Longer than you think. The cure time depends on the glue, and the guides give these figures:
- 8-12 hours of cure in the Gear Aid guide
- At least 24 hours in a dry, well-ventilated place away from direct heat or sunlight, per Bostik
- 24 hours before wearing, per Aleene’s
- 24 to 48 hours for a full cure, per Flex Seal, which also says the glue starts to dry within 10 to 20 minutes and is dry to the touch in about an hour
The safe habit is to follow the longest time on your own glue’s label and keep the clamp or weight on for that period. Once the repair has cured and you are wearing the pair again, a little upkeep helps; the guide on how to polish leather shoes covers the leather uppers.
Mistakes that make the bond fail
Most failed repairs trace back to rushed prep or weak clamping. Watch for these:
- Skipping the clean. Dirt, grease and moisture stop the glue from bonding properly.
- Reopening the joint. Flex Seal advises not to reopen the sole to rearrange it once you press it down, so align it first.
- Weak clamping. The Frugal Upstate writer found that a rubber band and painters tape did not hold well, and said the clamp worked the best (source).
- Wearing too soon. Bostik tells you to avoid the temptation to test the bond early.
- Heat exposure. Dry the shoes and cure the glue away from campfires and strong heat.
If a repaired shoe feels snug across the toe afterwards, read about how to stretch tight shoes before you give up on the pair.
Frequently asked questions
How long does the repair itself take?
Show answer
Hands-on time is short. The iFixit reattach guide rates it Easy at 15 minutes, and its reconnect guide rates it Moderate at 30 minutes. The curing time comes on top of that.
Does the glue need to be flexible?
Show answer
Yes, choose a flexible, waterproof adhesive made for shoes. Soles flex constantly, and Gear Aid describes its shoe adhesive as a flexible rubber glue that won’t crack or peel (source).
What if glue squeezes out of the joint?
Show answer
Wipe it off while it is wet. iFixit says removing glue is much easier at that stage, and dried glue may need a lot of pressure and rigorous scrubbing.
When should you stop gluing and see a cobbler?
Show answer
When the sole is worn down completely or structurally compromised. Bostik says a full replacement or a professional cobbler may be more appropriate in those cases.